Watercolor painting is one of the most accessible and rewarding art forms for beginners. The transparent, luminous quality of watercolors can create effects that no other medium can achieve. However, mastering the basics requires understanding several fundamental techniques. In this guide, we'll explore essential watercolor techniques that will help beginners create beautiful paintings from day one.
Getting Started: Materials You'll Need
Before diving into techniques, it's important to have the right supplies:
- Watercolor paper (140lb/300gsm or heavier)
- Watercolor paint set (student grade is fine for beginners)
- Brushes (round brushes sizes 2, 6, and 10 are a good start)
- Water container
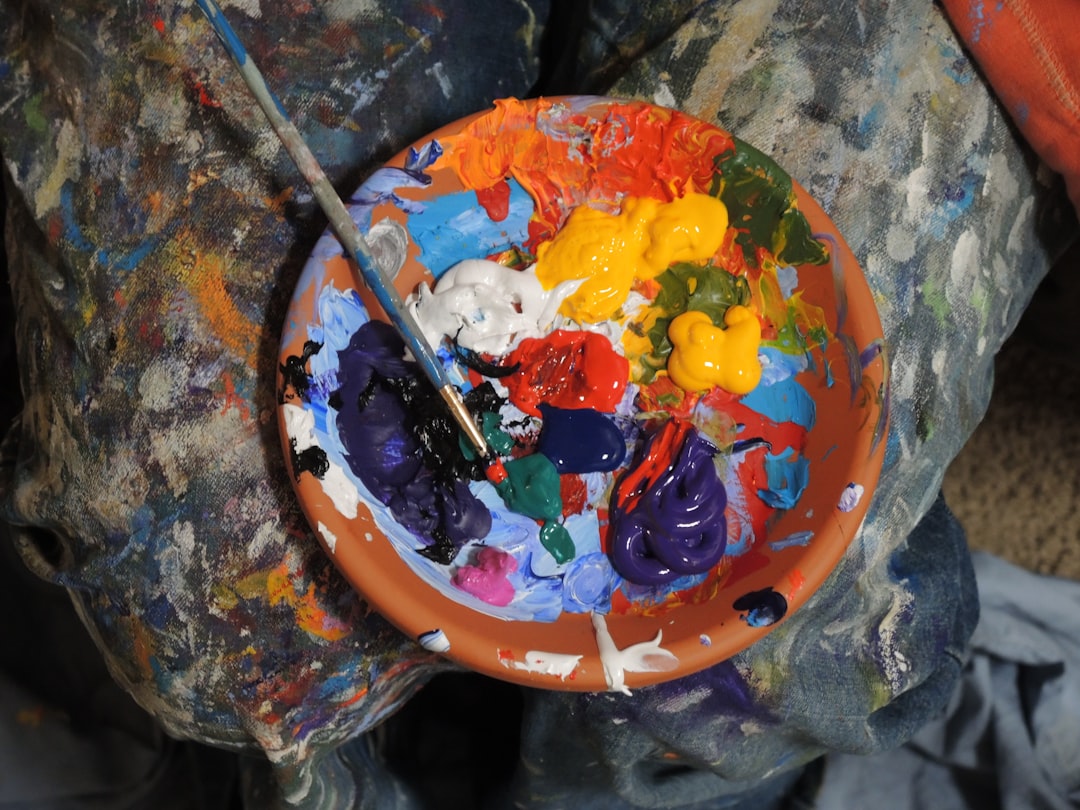
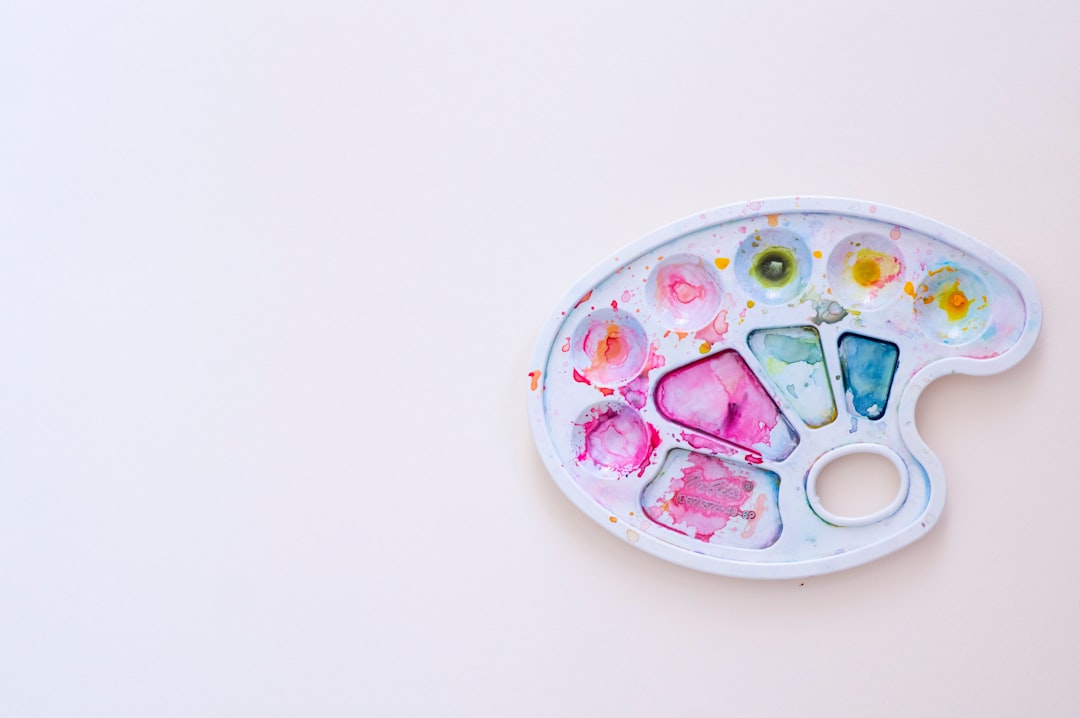
- Palette for mixing colors
- Paper towels or a clean cloth
Technique 1: Wet-on-Wet
The wet-on-wet technique involves applying wet paint to wet paper, creating soft, diffused effects perfect for backgrounds, skies, and abstract elements.
How to practice wet-on-wet:
- Use clean water to dampen your paper evenly.
- While the paper is still wet, load your brush with pigment and touch it to the damp surface.
- Watch as the color spreads and blooms organically.
- Add additional colors while the paper is still wet to create beautiful blends.
This technique works wonderfully for creating atmospheric skies, soft landscapes, and dreamy backgrounds. The key is controlling the wetness of both your paper and paint.
Technique 2: Wet-on-Dry
Wet-on-dry involves applying wet paint to dry paper, giving you more control and creating more defined edges.
How to practice wet-on-dry:
- Wait for your paper to be completely dry.
- Load your brush with pigment and apply it to the dry surface.
- Notice how the paint stays where you place it, with clear, defined edges.
This technique is perfect for adding details, creating sharp lines, and building up layers in your painting.
Technique 3: Dry Brush
The dry brush technique creates texture and is perfect for elements like grass, fur, or rough surfaces.
How to practice dry brush:
- Load your brush with paint but wipe most of it off on a paper towel.
- With the nearly-dry brush, lightly drag it across the dry paper.
- The paint will only catch on the raised texture of the paper, creating a broken, textured effect.
This technique adds wonderful texture and character to your paintings. It's particularly effective for depicting texture in landscapes, animal fur, or weathered surfaces.
Technique 4: Glazing
Glazing involves applying transparent layers of color over dry layers to build depth and intensity.
How to practice glazing:
- Apply a light wash of color and let it dry completely.
- Mix a transparent wash of a different color.
- Apply this second color over the first, allowing the underlying color to show through.
- Repeat with additional layers as desired, always waiting for each layer to dry.
Glazing builds depth and richness in your paintings. It's particularly useful for creating luminous shadows and mid-tones.
Technique 5: Lifting
Lifting allows you to remove color from your paper, creating highlights or correcting mistakes.
How to practice lifting:
- Apply paint to your paper and let it partially or fully dry.
- Dampen a clean brush with water and gently scrub the area you want to lighten.
- Blot with a paper towel to absorb the loosened pigment.
This technique is invaluable for creating highlights or correcting areas that are too dark. It works best on paper that can withstand some scrubbing.
Common Beginner Mistakes to Avoid
- Using too much water - Leading to a loss of control and muddy colors
- Not waiting for layers to dry - Causing colors to blend unintentionally
- Using too little water - Resulting in flat, dull colors lacking transparency
- Overworking an area - Creating a muddy appearance and damaging paper
Practice Exercises for Beginners
Here are some simple exercises to practice these techniques:
- Value scales - Create a gradient from light to dark using a single color.
- Color mixing chart - Create a grid showing different color combinations.
- Sky and simple landscape - Practice wet-on-wet for the sky and wet-on-dry for land elements.
- Simple still life - Try painting a piece of fruit using layering techniques.
Conclusion
Mastering watercolor begins with understanding these fundamental techniques. Remember that watercolor is known for its spontaneity and unpredictability – learning to work with these qualities rather than against them is part of the journey. Be patient with yourself, practice regularly, and enjoy the process of discovery. The more you experiment with these techniques, the more comfortable you'll become with the beautiful medium of watercolor.